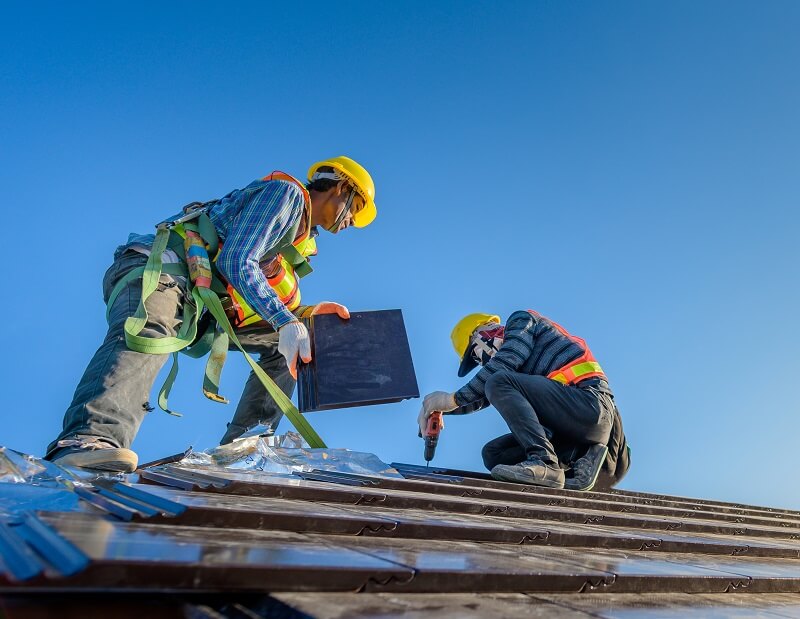
Your roof is a critical component of your home in Spring, Texas, protecting you from the elements and ensuring your comfort. When it comes to roof replacement or installation, understanding the process can help you make informed decisions and ensure a successful project. In this blog, we’ll walk you through the roofing installation process, step by step, in Spring, TX. Please note that roofing installation is a complex and potentially dangerous task, so it’s essential to hire professional roofing contractors rather than attempting it yourself.
Step 1: Initial Inspection and Assessment
The roofing installation process typically begins with an initial inspection by a professional roofing contractor. During this phase:
- The contractor will assess the condition of your existing roof (if applicable).
- They will inspect the structural integrity of the roof deck, checking for any damage or weaknesses.
- Measurements and calculations will be taken to determine the amount of roofing materials needed for the project.
- The contractor will discuss your roofing options, such as material choices and color selections, based on your preferences and needs.
Step 2: Obtain Permits and Approvals
Before any work can commence, permits and approvals from local authorities may be required. Your roofing contractor will handle the necessary paperwork and ensure that the project complies with Spring, TX, building codes and regulations.
Step 3: Tear-Off (If Required)
If you are replacing an existing roof, the tear-off phase comes next. During this phase:
- The existing roofing materials, such as shingles, underlayment, and flashing, are removed.
- Any damaged or rotted sections of the roof deck are repaired or replaced.
- The roof deck is thoroughly inspected for any remaining issues that need addressing before the new roof is installed.
Step 4: Roofing Material Delivery
Once the tear-off phase is complete, the roofing materials are delivered to your property. The materials include shingles, underlayment, flashing, and any additional components required for the specific roofing system you’ve chosen.
Step 5: Installation of Underlayment and Ventilation
Proper underlayment and ventilation are critical for the longevity and performance of your new roof. During this phase:
- An underlayment, often made of asphalt-saturated felt or synthetic materials, is installed over the roof deck to provide an additional layer of moisture protection.
- Proper ventilation, including ridge vents, soffit vents, or other ventilation systems, is installed to promote air circulation in the attic and prevent moisture buildup.
Step 6: Roofing Material Installation
The roofing material installation is the most visible phase of the project, and it involves:
- Apply starter shingles along the eaves and rake edges to provide a secure base for the rest of the shingles.
- Installing the main roofing material, whether it’s asphalt shingles, metal panels, tile, or another roofing type, following manufacturer guidelines and industry best practices
- Carefully aligning and securing each roofing material to ensure proper water shedding and wind resistance.
- Installing flashing around roof penetrations, such as chimneys, vents, and skylights, to prevent water intrusion
Step 7: Ridge Vent and Ridge Cap Installation
Ridge vents and ridge caps are essential for proper roof ventilation and to finish the roof’s appearance. These components are installed along the ridges of your roof, allowing warm air to escape from the attic while keeping moisture out.
Step 8: Cleanup and Inspection
After the roofing materials are installed, your contractor will conduct a thorough cleanup of the work area. This includes removing debris, nails, and any discarded materials. An inspection will be performed to ensure that the roofing installation meets quality standards.
Step 9: Final Inspection and Quality Assurance
Before considering the project complete, a final inspection is conducted to confirm that the roof installation meets all specifications and building codes. The roofing contractor will also address any minor issues or concerns that may have arisen during the installation.
Step 10: Enjoy Your New Roof
With the roofing installation process complete, you can now enjoy the benefits of your new roof. Your home will be well protected, and your investment will add value to your property. Regular roof maintenance and inspections are recommended to ensure the continued performance and longevity of your roof.
In conclusion, the roofing installation process in Spring, TX, involves several critical steps that require professional expertise and experience. Hiring a reputable roofing contractor ensures that the project is completed correctly, following industry standards and local regulations. A well-installed roof not only enhances the appearance of your home but also provides peace of mind that your family and property are protected from the elements for years to come.
Spring Roofing https://www.springtexasroofers.com/

